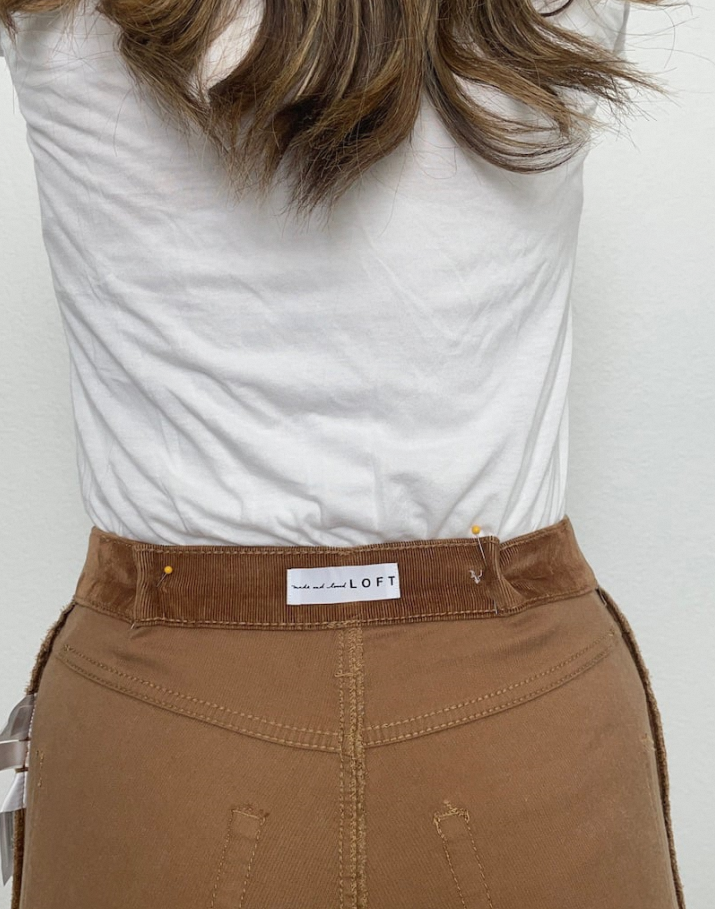
Taking in jeans at the waistband is a practical skill that can save you from having to discard perfectly good denim due to an ill-fitting waist. Whether your jeans are slightly too loose after losing weight, or you’ve purchased a pair with extra room in the waist, adjusting them yourself is easier than you might think. This guide will walk you through the process step-by-step, ensuring a professional-looking alteration so you can master the art of taking in jeans at the waistband.
Assess and Mark the Jeans
- Begin by trying on the jeans and marking where they need to be taken in using pins or tailors’ chalk. Make sure the fit is comfortable around the hips and seat, as you don’t want to compromise those areas while altering the waist.
Remove the Waistband
- Carefully unpick the waistband seam (usually located at the back) without damaging the fabric or the topstitching. Be cautious not to cut any belt loops if you plan to keep them.
Measure and Pin
- Measure how much you want to take in on both sides, ensuring it’s even. Pin the excess fabric together along the side seams, creating darts or tucks that taper towards the top to maintain a natural curve.
Baste and Try On
- Sew a temporary basting stitch along the pinned line to check the fit before committing to a permanent stitch. Ensure the waist fits snugly but doesn’t restrict movement.
Stitch and Finish
- Once satisfied with the fit, sew a straight or zigzag stitch along the marked lines, reinforcing the stitching for durability. Trim excess fabric and press the seam open. If needed, reattach the waistband, making sure it lays flat and neat, then re-stitch the waistband seam.
Topstitching
- To maintain the original look of the jeans, follow the existing topstitching pattern around the waistband, securing the new seam and adding a touch of professionalism to your alteration.
Assessing the Fit
- Try on the jeans and determine how much smaller you need to make the waist. Use pins or tailors’ chalk to mark where adjustments should be made, ensuring not to affect the fit around the hips and thighs.
Preparation
- Turn the jeans inside out and identify the side seams as well as the back seam where the waistband meets the yoke. If possible, unattach the waistband temporarily for more flexibility during alteration.
Pinning the Adjustments
- Starting from the top of the side seam or back seam, pinch the excess fabric and pin it towards the center back or sides. Make sure the tucks or darts taper smoothly so they won’t create an awkward bulge when worn.
Baste Stitching
- Sew a baste stitch along the pinned lines to check the new fit before committing to a permanent stitch. Ensure the waist fits snugly without being too tight.
Permanent Stitching
- Once satisfied with the basted fit, sew a straight or slightly curved line following your pins, reinforcing the seam. Trim any excess fabric close to the seam allowance.
Reattaching Waistband (If Removed)
- If you detached the waistband, reattach it now, aligning it correctly and stitching it back in place. Be sure to follow the original seam line for a seamless finish.
Topstitching
- Mimic the original topstitching pattern on the waistband area to maintain the jeans’ professional look. This step is crucial for making the alteration virtually invisible.
Conclusion:
Mastering the art of taking in jeans at the waistband empowers you to customize your denim wardrobe to suit your exact measurements. With patience and practice, this DIY project can help transform your jeans into a tailor-made piece that fits like a dream.