Introduction:
Jeans are a wardrobe staple that often need a bit of tweaking to achieve the perfect fit. Many people, especially those with fluctuating sizes or unique body shapes, find themselves in a situation where their jeans fit well in the hips and legs but are too tight around the waist. Instead of discarding your favorite pair or settling for an uncomfortable fit, there are several DIY methods you can employ to make your jeans waist bigger. Here’s a guide to extending the waistband on your jeans without compromising their style or quality.
1. Letting Out the Seams:
If your jeans have extra fabric sewn into the waistband seam (also known as a ‘let-out’), you’re in luck. Carefully unpick this seam using a seam ripper. Make sure to only remove the stitches and not damage the fabric itself. Afterward, re-sew the seam at a wider measurement to increase the waist size.
2. Inserting Elastic Panels:
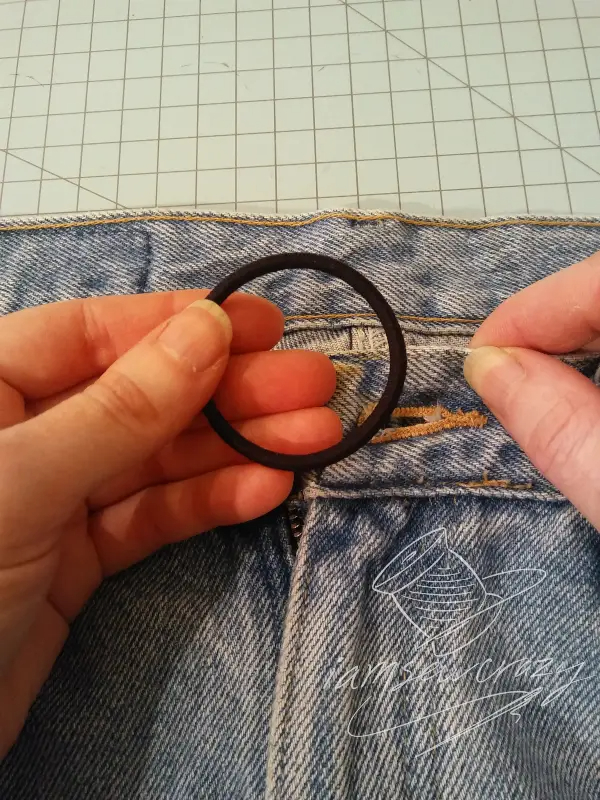
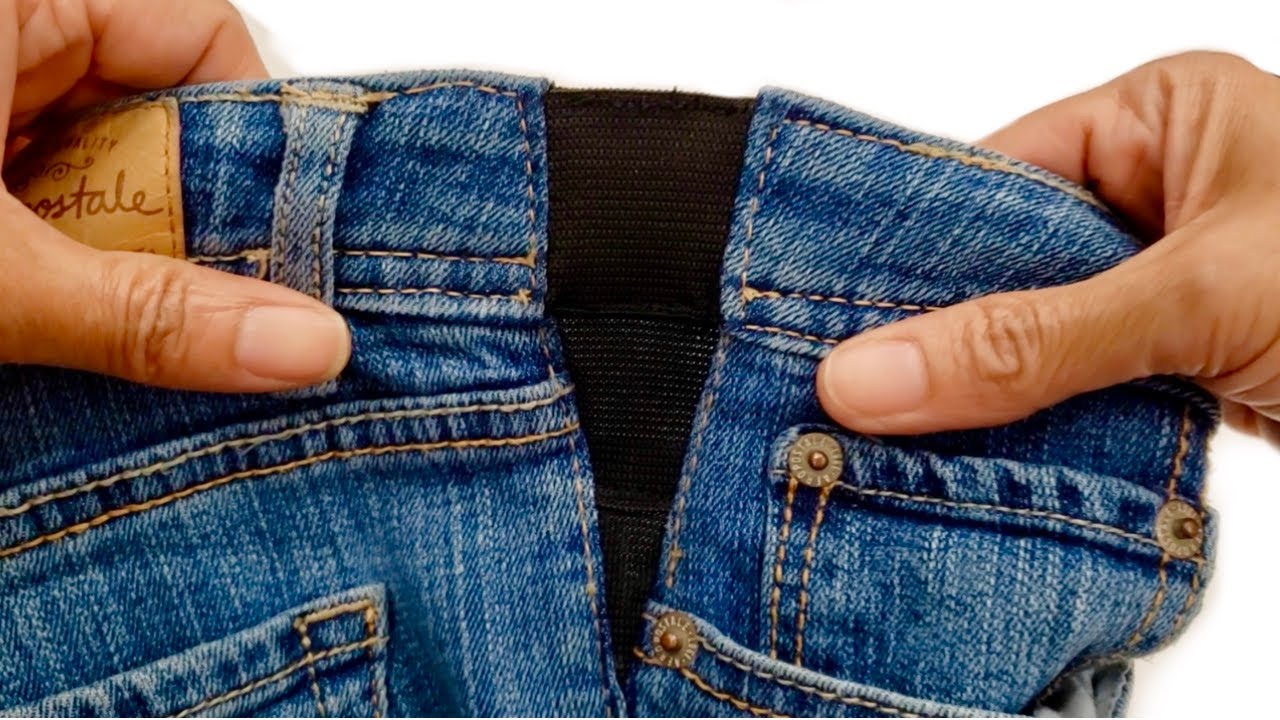
For a more flexible solution, consider adding elastic panels inside the waistband. Cut a piece of soft, non-roll elastic that matches the length of the jeans’ waist circumference when expanded to the desired size. Sew the elastic along the inside back waistband seam, creating a hidden stretchy panel that allows for a comfortable fit.
3. Waistband Expansion Technique:
Cut a strip of denim or matching fabric wide enough to add the necessary inches to the waistline. Sandwich the original waistband between this new fabric strip and the jeans’ interior, then sew it all together along the top and bottom edges. This method is similar to adding a waistband extension or gusset.
4. Adding Buttonholes or Adjustable Tabs:
Create buttonholes on the inside of the waistband and attach buttons on the exterior. You can also use adjustable tabs with snap closures or hook-and-eye fasteners. These additions allow you to adjust the waist size according to your needs.
5. Belt Loops Conversion:
Convert a couple of belt loops into functional extensions by sewing them open at the top and attaching additional fabric or elastic bands to create an adjustable cinch effect.
6. Professional Tailoring:
If you’re not confident in your sewing skills, take your jeans to a tailor. They can often resize the waistband professionally without affecting the rest of the jean’s fit, ensuring a seamless alteration.
Remember, before starting any DIY project, try on your jeans and mark where you need more room. Always work slowly and carefully to avoid damaging the fabric or construction. With patience and the right technique, you can successfully extend your jeans’ waistband and give new life to those cherished pairs.
Finding jeans that fit flawlessly can be a challenge, especially when it comes to the waist. Many women find themselves in a situation where their jeans fit perfectly around the hips and thighs but are too tight at the waist, causing discomfort or even muffin top. This guide is here to help you solve the waist squeeze conundrum by offering practical advice on how to alter your jeans for a roomier fit without compromising the overall look.
1. Basic Waistband Adjustment:
- Letting Out the Waistband: If your jeans have extra fabric in the waistband seam allowance, you can easily let out the stitches. Carefully unpick the seam until you achieve the desired looseness, then resew the seam. Be cautious not to disturb any belt loops or decorative stitching.
- Adding an Elastic Insert: For a more flexible solution, cut open the back waistband (on the inside), insert a piece of wide elastic, and sew it into place. This method allows for stretch and comfort while keeping the original fit around the hips.
2. Adding a Waistband Extension:
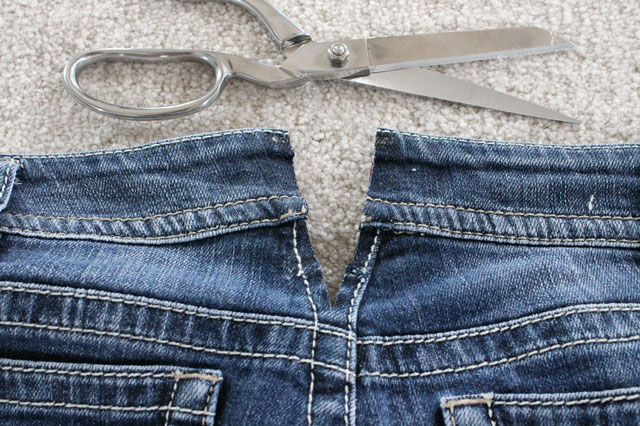
- Create a Gusset: You can create a small triangular or rectangular gusset from similar denim fabric and insert it into the waistband at the center back. Sew this piece in place so that it extends the waistband circumference.
- Using a Belt Loop as Anchor: Alternatively, add a strip of fabric to the waistband, attaching it to one of the existing belt loops to keep it secure. This will provide additional fabric around the waist without altering the rest of the jean’s fit.
3. Taking in the Hips and Thighs:
If the jeans are loose in the hips and thighs but tight at the waist, consider taking them in proportionally so the waist fits better without being too baggy elsewhere. Pinch out the excess fabric along the side seams and inner leg seams, then sew new seams.
4. Professional Tailoring:
For a precise and polished alteration, consult a professional tailor. They can adjust the waistband without affecting the original design, possibly using darts, adding a hidden adjustable tab, or resizing the entire waistline.
5. Consider Jeans with Stretch:
When shopping for new jeans, look for those with elastane or spandex content. The stretchy material can accommodate size variations in your waist and still maintain a snug fit elsewhere.Remember, every pair of jeans has its limits, and some may not lend themselves well to alterations due to their design or construction. Always start by making minor adjustments and test the fit after each step to ensure you don’t overdo it. With patience and practice, you’ll be able to transform your jeans into a comfortable, flattering fit that solves the waist squeeze once and for all.
Jeans are a staple in most wardrobes, celebrated for their versatility and durability. However, finding the perfect fit can be challenging, especially when it comes to waist size. If you’ve ever struggled with jeans that are too tight around the waist but fit perfectly everywhere else, altering them is a viable solution. This guide aims to provide step-by-step instructions on how to make your jeans’ waistband bigger without sacrificing the style or integrity of the denim.
Understanding the Structure of Jeans Waistbands
Before diving into the alteration process, it’s crucial to understand the anatomy of a jeans waistband. Typically, jeans have a waistband made up of multiple components: the yoke (the upper part), belt loops, a button closure, a zipper fly, and possibly pockets. The waistband may also include an inner waistband facing which provides structure and support. When resizing the waist, you’ll need to consider these elements to ensure a seamless and professional-looking modification.
Materials and Tools Needed
- Your pair of jeans
- Seam ripper
- Measuring tape
- Pins or fabric markers
- Thread in the same color as the jeans
- Scissors
- Sewing machine (optional but recommended)
- Additional fabric for widening the waist (preferably denim with similar weight and color)
Assess and Measure
Start by trying on the jeans and determining exactly how much larger you want the waistband to be. Mark this excess width on both sides of the waist using pins or fabric markers. Ensure that the added width is even across the back and front, accounting for any differences due to darts, seams, or pockets.
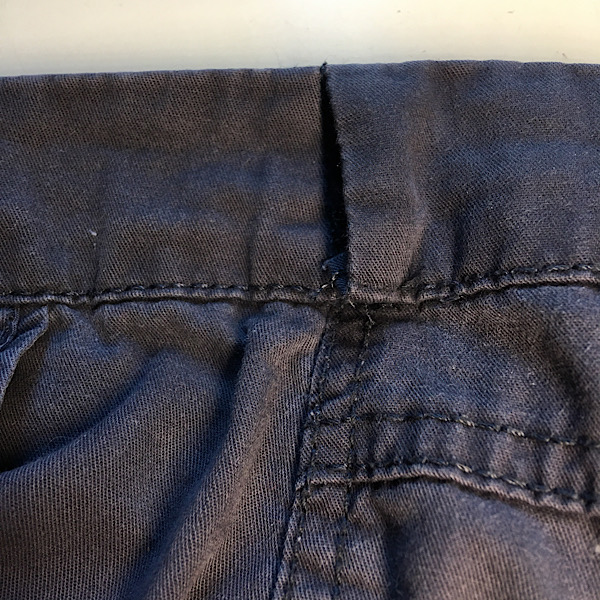
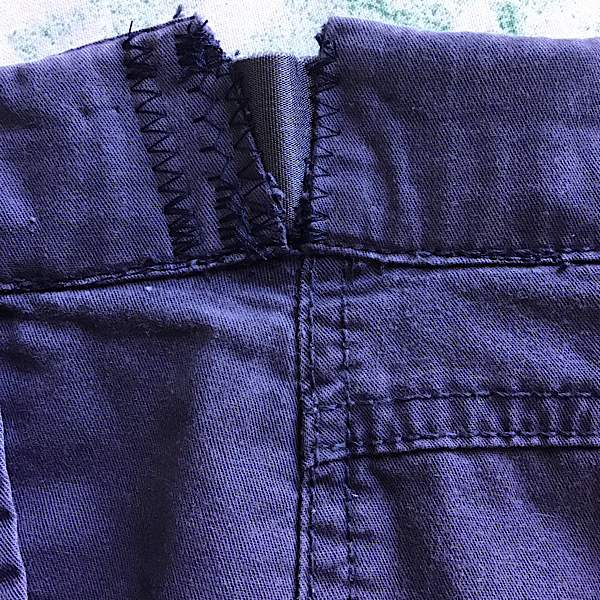
Disassemble the Waistband
Carefully remove the waistband from the jeans using a seam ripper. Start by unpicking the stitching along the top seam where the waistband meets the yoke. Be cautious not to damage the denim or cut through any belt loops.
Add Fabric Panels
Cut out two rectangular fabric panels, each measuring the extra width required plus a half-inch seam allowance on either side. Attach these panels to the inside of the original waistband, aligning the raw edges and pinning them securely.
Sew the Extensions
Using a sewing machine or hand-sewing, stitch the new panels onto the waistband with a straight stitch, ensuring a strong and secure attachment. Fold over the seam allowances and press flat with an iron if necessary.
Reattach the Waistband
Once the extensions are sewn in, refit the waistband onto the jeans, matching the original seam lines. Pin the waistband in place, then sew it back onto the jeans using a sturdy stitch, such as a zigzag or a double-needle straight stitch for stretch denim.
Finishing Touches
Double-check all your stitches and reinforce the stress points, particularly around the button and the fly area. Trim any loose threads, and if desired, iron the waistband for a crisp finish.
Considerations for Style Preservation
- To maintain the original look of the jeans, try to match the thread color, stitch type, and denim wash.
- If there are rivets at the waistline, they may need to be removed temporarily and reattached after the alteration.
- For high-waisted jeans, pay attention to maintaining the rise and fit around the hips.
- If possible, work slowly and methodically to avoid accidentally stretching the denim during the process.
In conclusion
Resizing the waistband of your jeans requires patience, precision, and a keen eye for detail. By following this guide, you’ll not only achieve a custom fit but also preserve the aesthetic appeal of your favorite pair of jeans. Remember, practice makes perfect, so don’t hesitate to seek assistance from a professional tailor if needed. With time and experience, you’ll be able to transform ill-fitting jeans into wardrobe staples that flatter and comfort like no other.